
Hey there! It’s Althaf, and today we’re going to take you on an exciting journey to explore Anaconda and Jupyter Notebook. We’ll show you a step-by-step guide to installing Anaconda python on your Windows machine and give you a beginner’s introduction to Jupyter Notebook. But before we dive in, let’s take a moment to understand what Anaconda python and Jupyter Notebook are. You’ll be surprised how many people use these powerful tools without really knowing what they are or how they work.
Anaconda python is a popular open-source distribution of the Python programming language that includes a suite of tools and libraries for data science and scientific computing. It is designed to simplify the installation and management of packages needed for data analysis and provides a platform for developing, testing, and deploying data science projects.

Anaconda python comes with a package manager, called conda, which enables users to install, update, and manage packages and dependencies with ease. It also includes an environment manager that allows users to create isolated environments with different sets of packages and dependencies, which is useful for managing multiple projects with different requirements.
In addition to Python and its core packages, Anaconda python also includes popular data science libraries such as NumPy, Pandas, and Matplotlib, as well as tools for machine learning, deep learning, and data visualization, among others.
Jupyter Notebook is an open-source web application that allows users to create and share interactive documents called “notebooks” that contain live code, equations, visualizations, and narrative text. It supports a variety of programming languages, including Python, R, Julia, and others.

Jupyter Notebook is a separate open-source project from Anaconda, but it is often included as part of the Anaconda distribution. In fact, one of the advantages of using Anaconda python is that it comes with Jupyter Notebook pre-installed, along with many other popular data science packages.
While Jupyter Notebook can be installed independently of Anaconda, installing it through Anaconda python can be more convenient and provide additional benefits, such as easy package management and the ability to create and manage virtual environments using conda.
Now that we have a good idea of what Anaconda python and Jupyter Notebook are, let’s dive into the installation process. I will explain the process step by step, so you can follow along and get started with ease.
Step-1:
To install Anaconda on your device, go to the download page of the official anaconda website and select the Windows version.

NOTE: For users on macOS (add link to my macOS blog) or Ubuntu (add link to my ubuntu blog), we have already provided documentation on how to install Anaconda on these platforms.
Step-2:
Once the download has finished, you can locate the Anaconda installer in your downloads folder. To commence the installation process, simply double-click on the installer.
When the installation starts, a window similar to this should appear on your screen. Proceed by selecting the “Next” button.
Step-3:
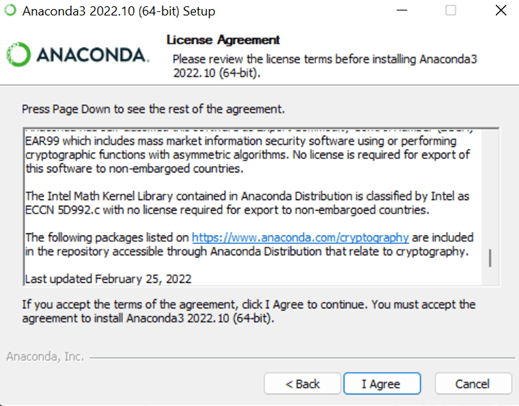
After clicking “Next,” a box containing the terms and conditions will be displayed. Read the terms and conditions carefully, and select the “Agree” button to proceed to the following step.
Step-4:
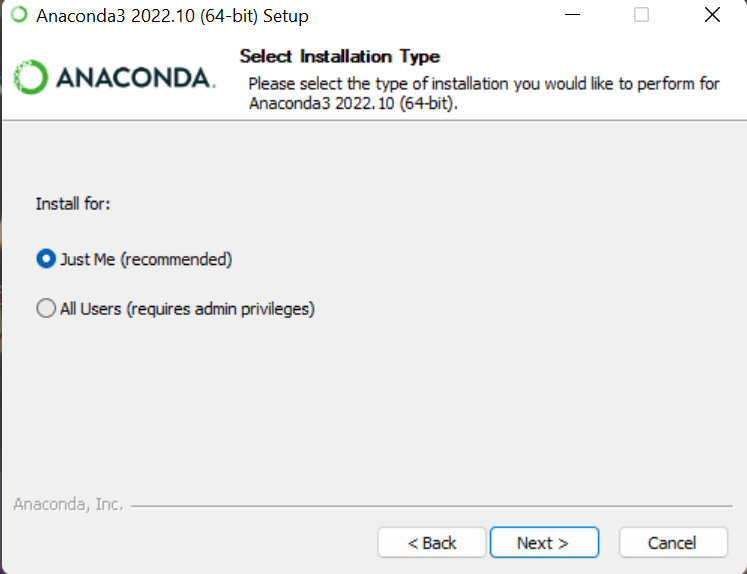
Once you have accepted the terms and conditions, a window will appear asking for the installation type. It is advisable to keep the recommended options unless you have a specific reason for changing them. Select “Next” to continue.
Step-5:
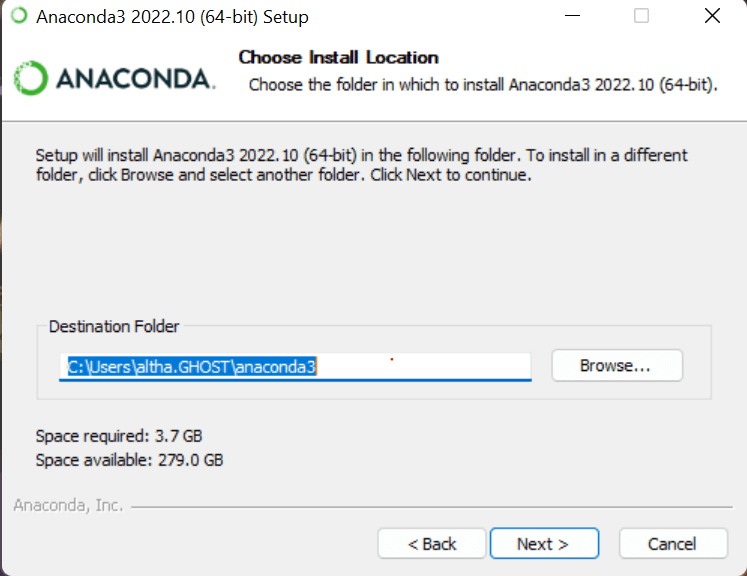
Selecting “Next” will take you to a window indicating the installation location. Take note of this location, and proceed by clicking on “Next.“
Step-6 (important)
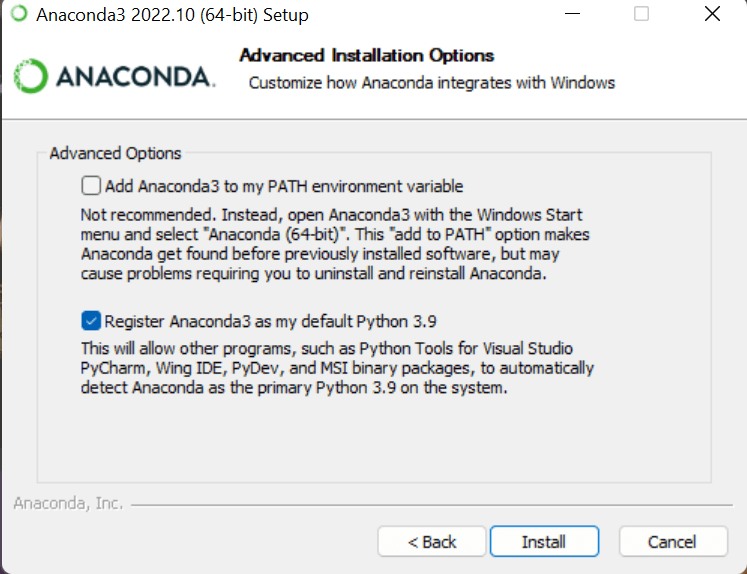
During the installation process, it is essential to decide whether or not to add Anaconda python to your system’s PATH. It is recommended not to check this box as it is preferable to use Anaconda Navigator or the Anaconda Command Prompt from the Start Menu when working with Anaconda. You can always add Anaconda to your PATH later if necessary. However, if you prefer to use Anaconda in your command prompt or other similar programs, check the box.
Step-7:
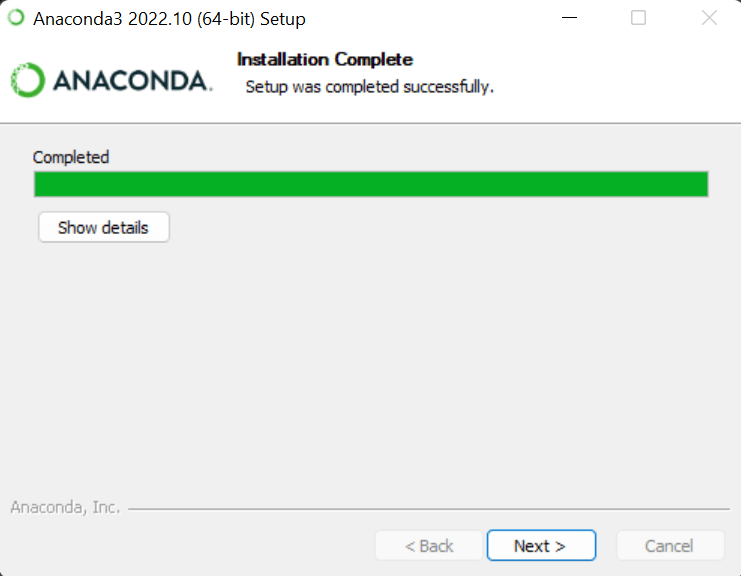
After clicking on the “Install” button, the installation process of Anaconda python will begin on your device. Depending on your system specifications, this may take several minutes to complete. After the installation process has finished, select the “Next” button to proceed.
Step 8:
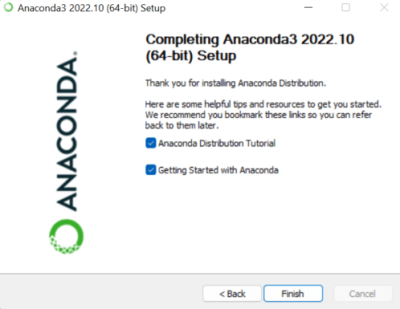
Congratulations! You have now successfully installed Anaconda on your system. To conclude the installation process, click on the “Finish” button.
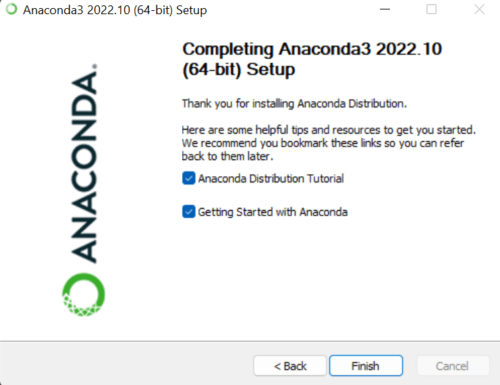
Once the installation is complete, you should see a window with a button to launch Anaconda Navigator. Click this button to open the Anaconda Navigator.
Alright folks, now that Anaconda is up and running on your device, let’s dive into the fun part: using it to fire up Jupyter Notebook and get your coding on!
Step 1:
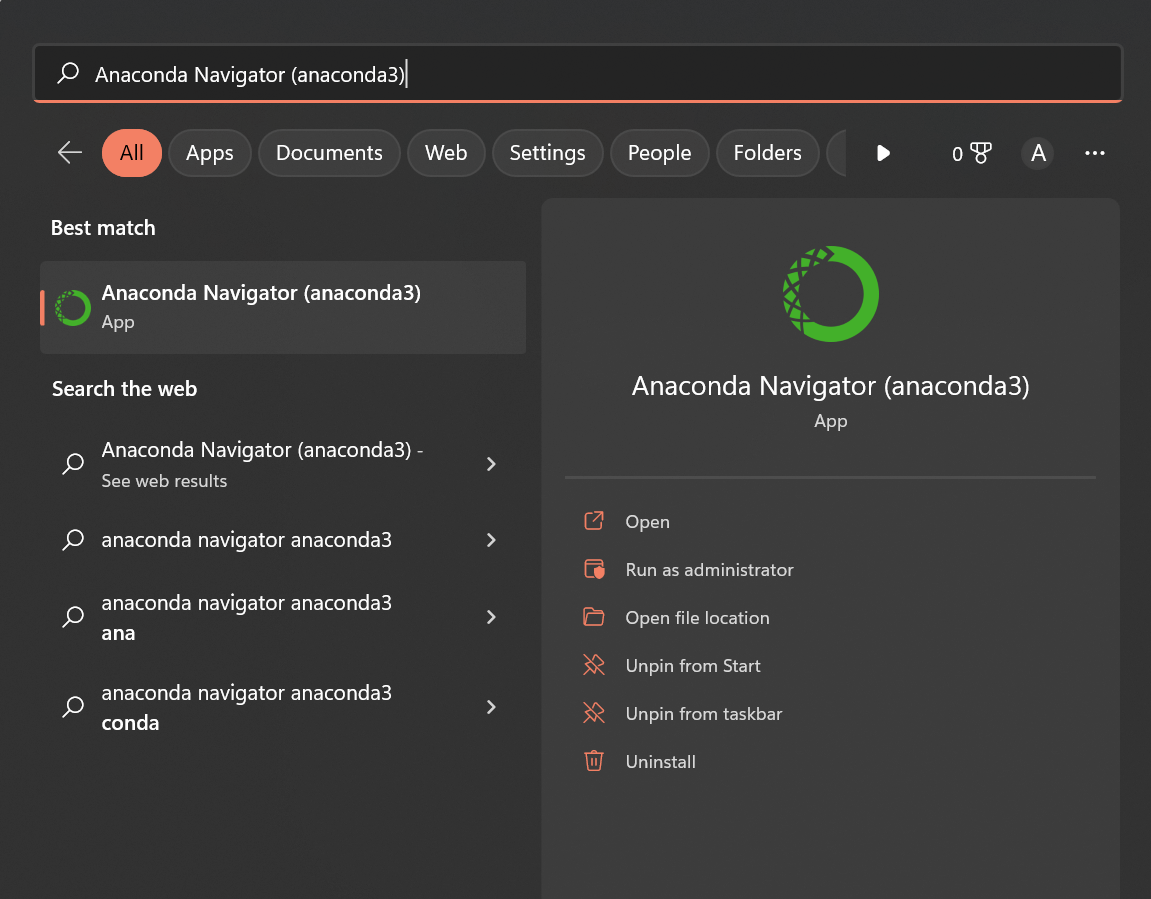
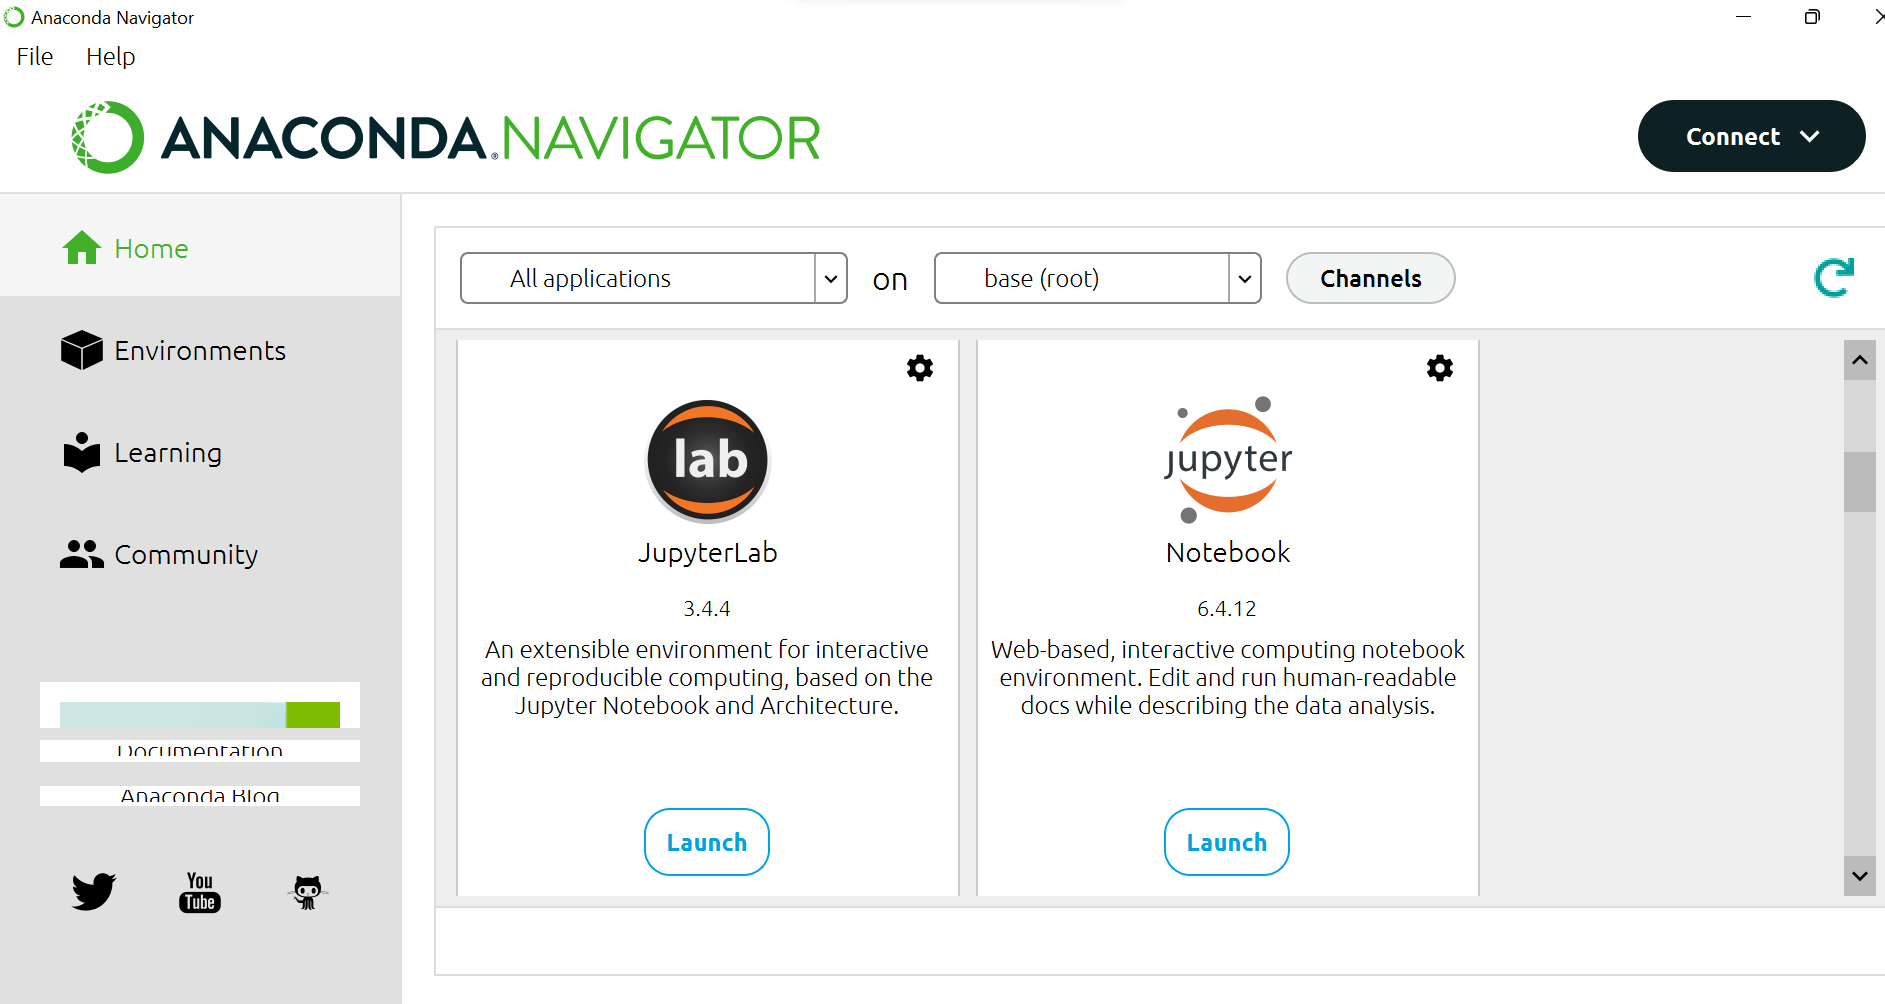
To open Anaconda on your device, simply search for it in the search bar and click on the Anaconda Navigator. This will give you access to all the tools and packages you need to start working with Jupyter Notebook and other data science applications.
FYI: Anaconda Navigator is a graphical user interface (GUI) included with the Anaconda distribution that provides a convenient way to launch and manage applications, environments, and packages. It allows users to easily access and launch popular data science tools and environments, including Jupyter Notebook, Spyder, and RStudio, among others.
Alternatively, users can also use Anaconda Prompt, a command-line interface included with Anaconda, to launch Jupyter Notebook. This method may be preferred by more advanced users or those who prefer working with the command line.
Step 2:
Open the Anaconda Navigator and select the “Jupyter Notebook” option and click launch. This will open a new tab in your web browser.
Step 3:
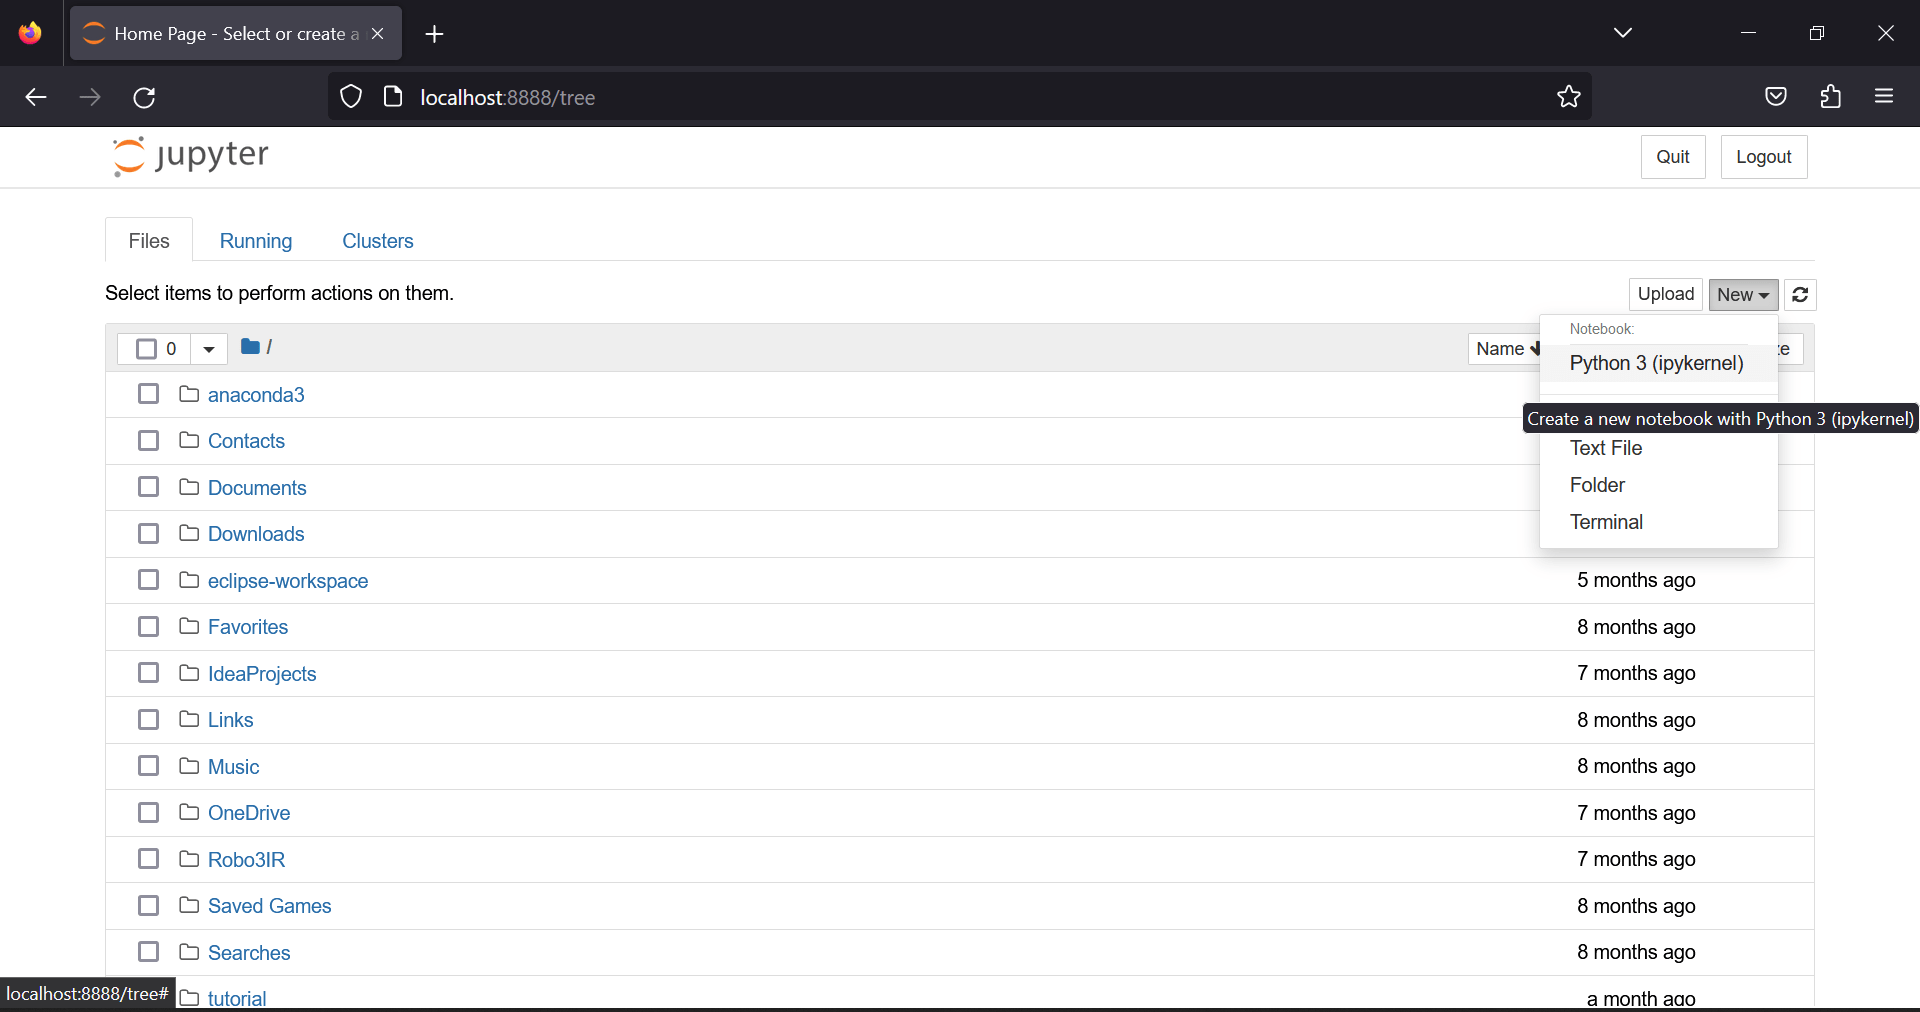
In the Jupyter Notebook interface, you can create a new notebook by clicking the “New” button in the top right corner and selecting “Python 3” (or another kernel of your choice).
Step 4:
Once you’ve created a new notebook, you can start writing code in the cells. To run a cell, click the “Run” button in the toolbar or press “Shift + Enter“.

Step 5:
You can add new cells by clicking the “+” button in the toolbar, and you can delete cells by selecting them and clicking the “scissors” button.

Step 6:
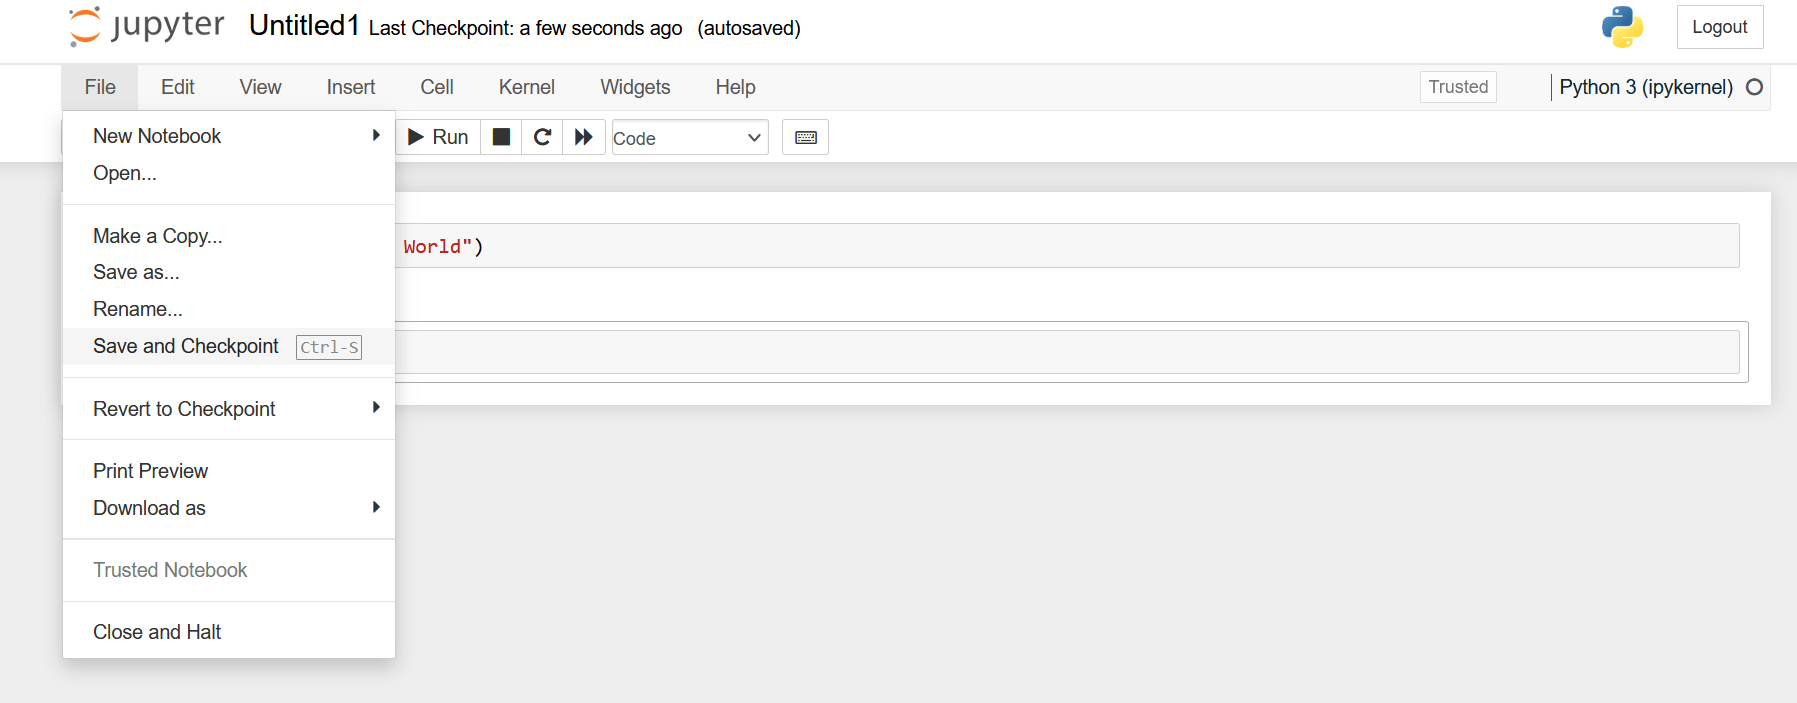
You can save your notebook by clicking “File” in the menu bar and selecting “Save and Checkpoint“. This will create a new file with the extension “.Ipynb”.
When you’re finished working on your notebook, you can close the tab in your web browser to shut down the Jupyter Notebook server.
That’s it! With these simple steps, you should be able to install Anaconda python and start using Jupyter Notebook on your Windows computer.
In this blog, we’ve covered the step-by-step process of installing Anaconda and using Jupyter Notebook through the platform. With its suite of tools and libraries, Anaconda python simplifies the data science experience and is a great choice for those starting their data science journey. And if you’re looking for an all-in-one data science learning platform, we highly recommend checking out 1StepGrow. Our platform offers perfectly tailored, live, and interactive courses suitable for beginners and professionals alike. So why wait? Dive in and start your data science journey today with 1StepGrow!
We provide online certification in Data Science and AI, Digital Marketing, Data Analytics with a job guarantee program. For more information, contact us today!
Courses
1stepGrow
Anaconda | Jupyter Notebook | Git & GitHub (Version Control Systems) | Python Programming Language | R Programming Langauage | Linear Algebra & Statistics | ANOVA | Hypothesis Testing | Machine Learning | Data Cleaning | Data Wrangling | Feature Engineering | Exploratory Data Analytics (EDA) | ML Algorithms | Linear Regression | Logistic Regression | Decision Tree | Random Forest | Bagging & Boosting | PCA | SVM | Time Series Analysis | Natural Language Processing (NLP) | NLTK | Deep Learning | Neural Networks | Computer Vision | Reinforcement Learning | ANN | CNN | RNN | LSTM | Facebook Prophet | SQL | MongoDB | Advance Excel for Data Science | BI Tools | Tableau | Power BI | Big Data | Hadoop | Apache Spark | Azure Datalake | Cloud Deployment | AWS | GCP | AGILE & SCRUM | Data Science Capstone Projects | ML Capstone Projects | AI Capstone Projects | Domain Training | Business Analytics
WordPress | Elementor | On-Page SEO | Off-Page SEO | Technical SEO | Content SEO | SEM | PPC | Social Media Marketing | Email Marketing | Inbound Marketing | Web Analytics | Facebook Marketing | Mobile App Marketing | Content Marketing | YouTube Marketing | Google My Business (GMB) | CRM | Affiliate Marketing | Influencer Marketing | WordPress Website Development | AI in Digital Marketing | Portfolio Creation for Digital Marketing profile | Digital Marketing Capstone Projects
Jupyter Notebook | Git & GitHub | Python | Linear Algebra & Statistics | ANOVA | Hypothesis Testing | Machine Learning | Data Cleaning | Data Wrangling | Feature Engineering | Exploratory Data Analytics (EDA) | ML Algorithms | Linear Regression | Logistic Regression | Decision Tree | Random Forest | Bagging & Boosting | PCA | SVM | Time Series Analysis | Natural Language Processing (NLP) | NLTK | SQL | MongoDB | Advance Excel for Data Science | Alteryx | BI Tools | Tableau | Power BI | Big Data | Hadoop | Apache Spark | Azure Datalake | Cloud Deployment | AWS | GCP | AGILE & SCRUM | Data Analytics Capstone Projects
Anjanapura | Arekere | Basavanagudi | Basaveshwara Nagar | Begur | Bellandur | Bommanahalli | Bommasandra | BTM Layout | CV Raman Nagar | Electronic City | Girinagar | Gottigere | Hebbal | Hoodi | HSR Layout | Hulimavu | Indira Nagar | Jalahalli | Jayanagar | J. P. Nagar | Kamakshipalya | Kalyan Nagar | Kammanahalli | Kengeri | Koramangala | Kothnur | Krishnarajapuram | Kumaraswamy Layout | Lingarajapuram | Mahadevapura | Mahalakshmi Layout | Malleshwaram | Marathahalli | Mathikere | Nagarbhavi | Nandini Layout | Nayandahalli | Padmanabhanagar | Peenya | Pete Area | Rajaji Nagar | Rajarajeshwari Nagar | Ramamurthy Nagar | R. T. Nagar | Sadashivanagar | Seshadripuram | Shivajinagar | Ulsoor | Uttarahalli | Varthur | Vasanth Nagar | Vidyaranyapura | Vijayanagar | White Field | Yelahanka | Yeshwanthpur
Mumbai | Pune | Nagpur | Delhi | Gurugram | Chennai | Hyderabad | Coimbatore | Bhubaneswar | Kolkata | Indore | Jaipur and More
Republic day Sale